Installing U-Molding on Your camper Van Windows: A Step-by-Step Guide
Installing U-molding around your van windows is an essential step in ensuring a clean, finished look while also protecting against rust and water intrusion. This blog post will guide you through the process of preparing the edges, priming, and installing U-molding, so your van build can shine.
Tools You’ll Need
4-Inch Angle Grinder: For cleaning up rough edges.
File: To further smooth the edges and prepare them for primer.
Primer: To protect the edges from rust.
Shop Vac: For cleaning up any debris.
U-Molding: The main material for finishing the window edges.
Vice Grips: For squeezing the U-molding into tight spots if needed.
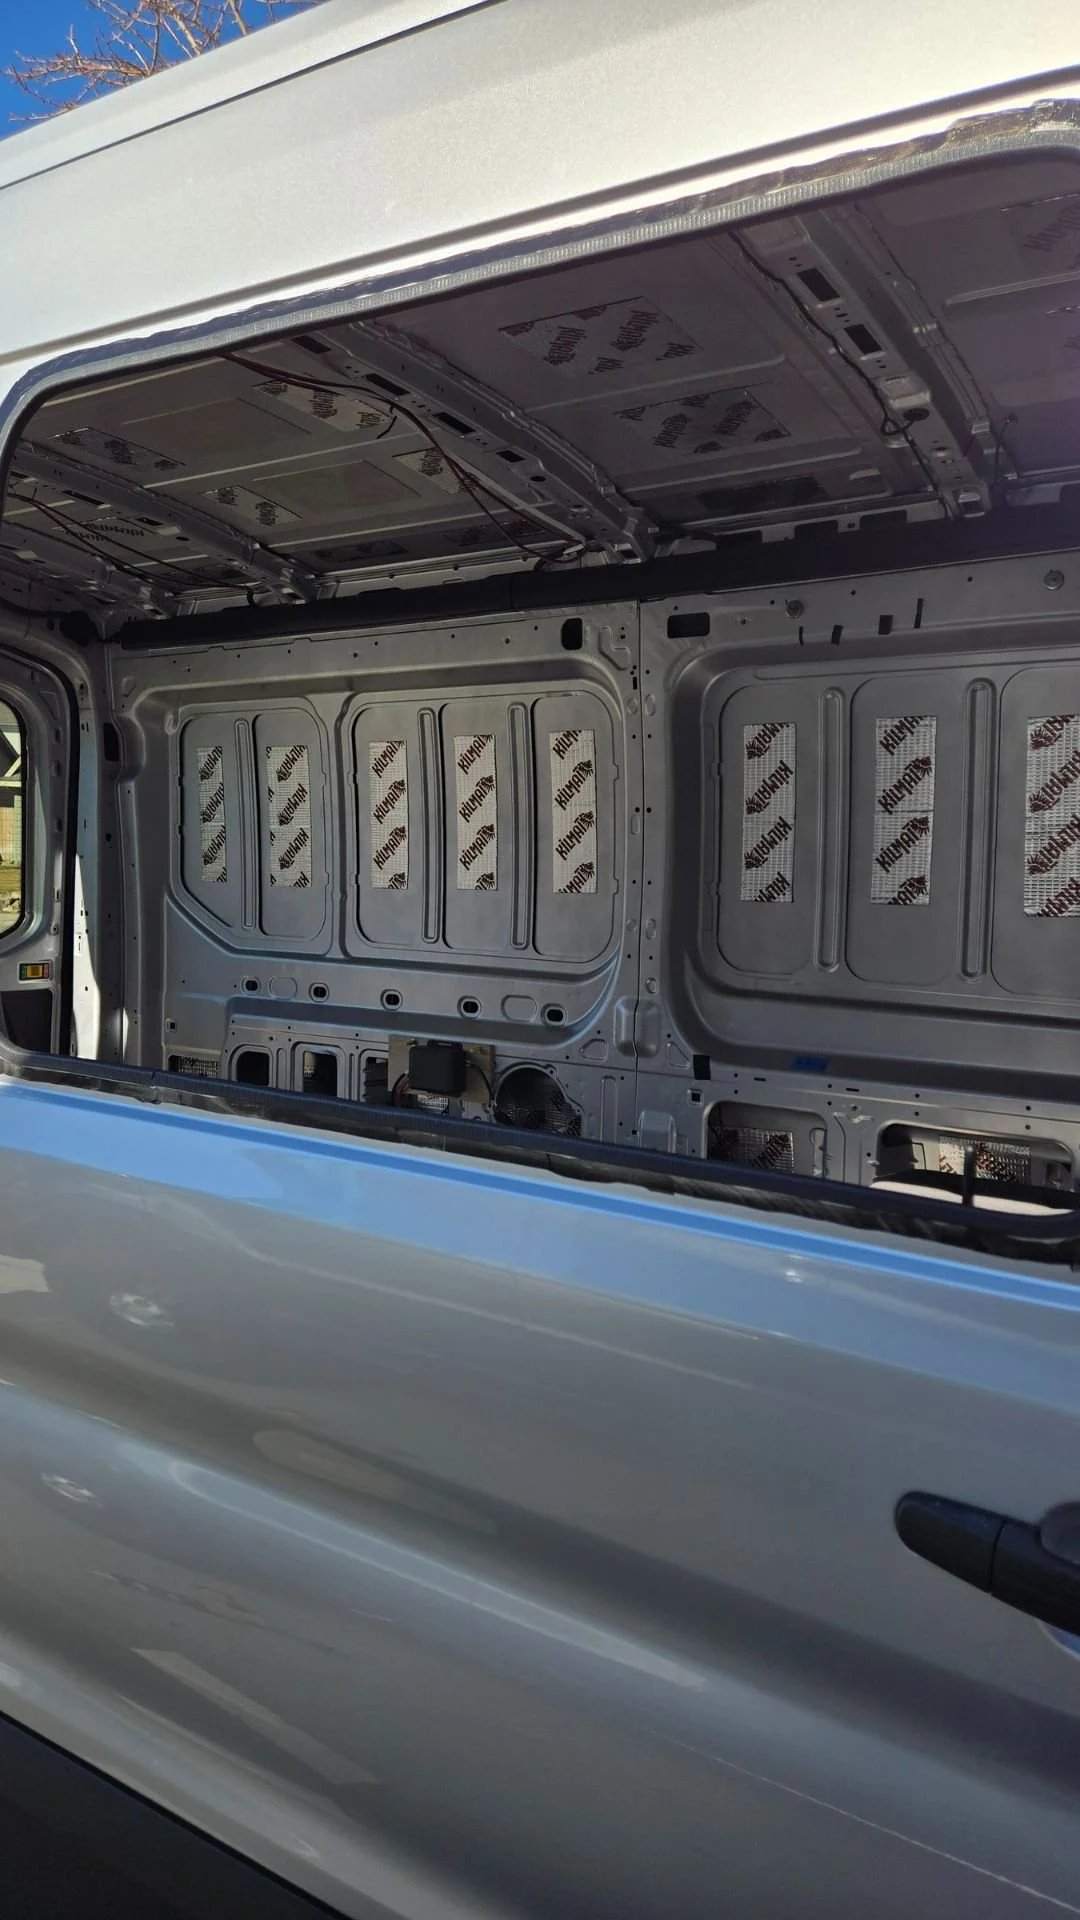
Step 1: Clean Up the Edges
Start by using your 4-inch angle grinder to clean up the rough edges around the window opening. These edges can be sharp and uneven, so taking the time to smooth them out is essential for a proper installation. After using the angle grinder, take a file and further refine the edges to ensure they are smooth and ready for the next steps.
Step 2: Prime the Edges
Once the edges are smooth, it’s time to apply primer. This step is crucial as it prevents rust from developing on your van's metal surface. Make sure to cover all rough edges and openings thoroughly. By priming these areas, you’re protecting your investment and ensuring the longevity of your van.
Step 3: Clean the Channel
After the edges are primed, pay attention to the channel at the bottom of the window opening. This area is notorious for collecting sawdust, metal flakes, and chips from the cutting process. Use your shop vac to clean out this channel thoroughly. A clean workspace is essential for a successful installation!
Step 4: Install the U-Molding
Now that the opening is prepped, it’s time to install the U-molding. This step is critical for achieving a clean and professional look. Here are some important tips:
Two Layers of Metal: Keep in mind that your van's window opening usually consists of two layers of metal: inner and outer. The U-molding is designed to cover both layers, ensuring a proper seal and finished appearance.
Flexibility: The U-molding is quite flexible, which allows it to conform to the varying widths of the window opening. Don’t be discouraged if some areas seem a little wider; the U-molding is made to fit over both layers.
Seal with Urethane: When installing the windows, you'll apply urethane around the perimeter. The urethane should form a high ridge—about half an inch from the outside—ensuring a good seal. The U-molding will cover both the inside and outside, creating a complete barrier against moisture.
Tight Spots: If you encounter any tight spots while fitting the U-molding, a simple set of vice grips can help you squeeze it into place.
Conclusion
Installing U-molding around your van windows is a straightforward yet vital part of your van build process. By following these steps, you can ensure a clean, professional finish while protecting your van from rust and water damage. Take your time, use the right tools, and enjoy the satisfaction of a job well done! Happy building!